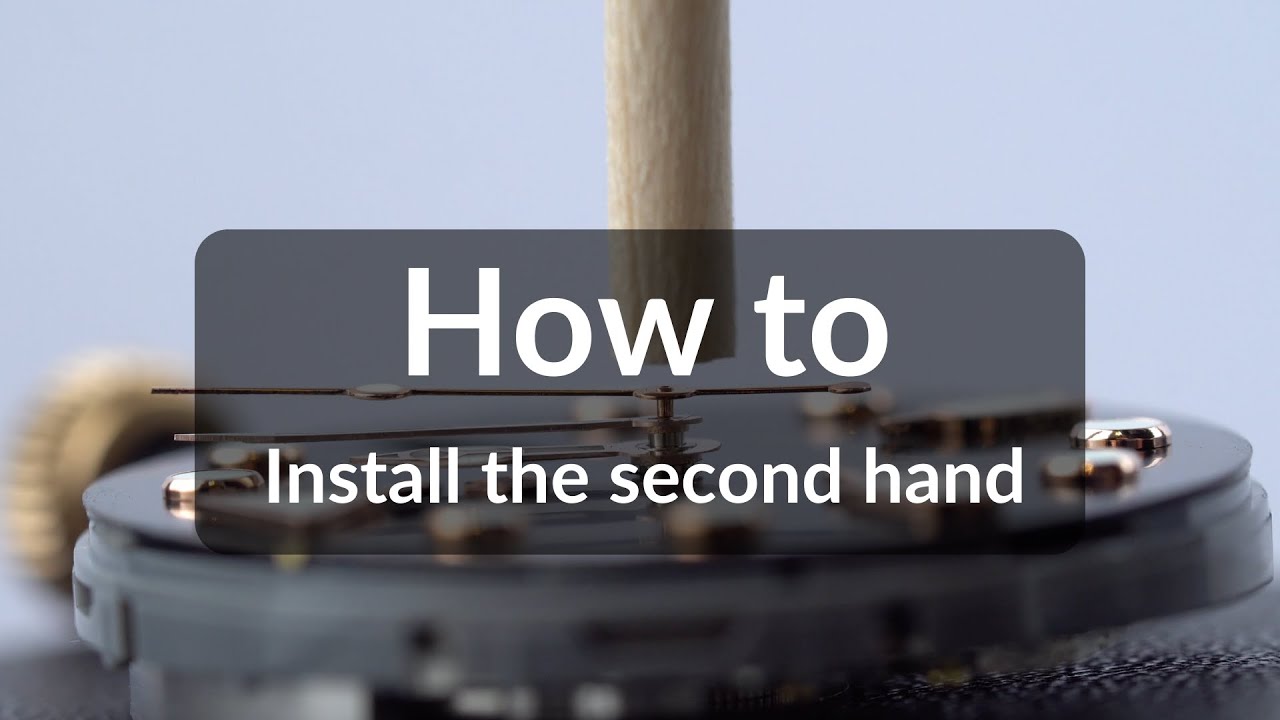
No. 3 - Watch Hand Assembly Instructions - Part 1: Hour & Minute Hands (Movements with Day and Date)
Welcome to the tutorial series of DIY watch assembly! In this tutorial, we'll guide you through the intricate process of installing the hour and minute hands on your timepiece. It's a crucial step in your timepiece assembling process, and while it may seem challenging, we're here to simplify and make it clear.
Before You Begin
We must emphasize that assembling the second hand, which we'll cover in the next tutorial, can be quite challenging, especially for beginners. An incorrect installation can risk damaging your watch's movement. Therefore, if you're a new player, we recommend watching our dedicated videos for hands installation instruction, including Hour & Minute Hands Assembling, Second Hand Assembling, and the Detailed Guide on Removing Watch Hands before starting your watch hands installation process.

For this tutorial, you'll need a few essential tools:
- Hand Installation Tool: This tool will be your primary instrument for installing the hands.

- Tweezers: You'll use tweezers to delicately pick up the watch hands.

- Loupe: While not mandatory, a loupe can provide a close-up view of the movement, aiding in precision.

- Hand Removal Tools: These may come in handy during the process.

Video Instruction
Before we dive into the hand installation process, let's set up our workspace:
-
Proper Support Ensure the movement and dial assembly are adequately supported. There should be no pressure on the movement, stem, or crown during this process. You can use a movement holder or the case back of the watch itself to achieve this. The key is to protect delicate components.

- Understanding Your Movement Take a moment to closely examine your movement with a loupe. Pay special attention to the smallest post, as it's incredibly delicate. Be cautious not to bend it during the hand installation.
Hour Hand Installation
-
Set the Scene: Prop up the movement and dial assembly in a way that applies pressure only to the movement holder, not the movement itself, stem, or crown. This ensures a stable base for installation. You can use the case back of the watch or a suitable pad, ensuring it won't scratch your case back.

-
Picking Up the Hand: There are multiple ways to pick up a watch hand, but tweezers are a popular choice. Note that the top side of the watch hand has a more refined finish, while the bottom side has a protruding tube.

-
Check the Date: If your movement includes a date function, pull the crown all the way out to the time-setting position. Adjust the time forward until the date transition occurs (usually midnight). This will help with accurate hour hand placement.

-
Hour Hand Alignment: Loosely attach the hour hand, ensuring it points sharply at 12 o'clock. Loose attachment allows you to check alignment before finalizing the placement.


-
Setting the Hour Hand Height: The goal is to set the hour hand at the correct height. It should be flush with the post. Use your loupe to ensure precise positioning. Remember, setting it too high will affect the placement of the minute and second hands.


-
Level and Align: The hour hand should be both level and low. Level it gently using the hand installation tool. Avoid excessive angling. Use a thin plastic film or post-it to gently adjust if needed.

Minute Hand Installation
-
Coordinating with the Hour Hand: Set the hour hand to 3 o'clock, then install the minute hand, pointing it at the 60-minute mark. Loose attachment allows you to check alignment at 3, 6, 9, and 12 o'clock.
-
Final Placement: Once you're satisfied with the alignment, apply pressure to set the minute hand. It should sit close to flush with the post, though it might not be entirely flush in some cases.
-
Double-Check: Ensure that the minute hand doesn't overlap the hour hand, and that there's an appropriate gap between them and the dial.
With the hour and minute hands correctly installed, your watch is well on its way to becoming a functional timepiece. However, we haven't forgotten the second hand. Please check for Part 2 of our Watch Hand Assembly Instructions: Second Hand after you have finished Part 1.

Remember, patience and precision are your allies in this journey. Take your time with each hand, checking and rechecking for alignment and height. The result will be a watch that not only tells time accurately but also reflects the craftsmanship of the watch owners.
Happy watch crafting!


Leave a comment
This site is protected by hCaptcha and the hCaptcha Privacy Policy and Terms of Service apply.