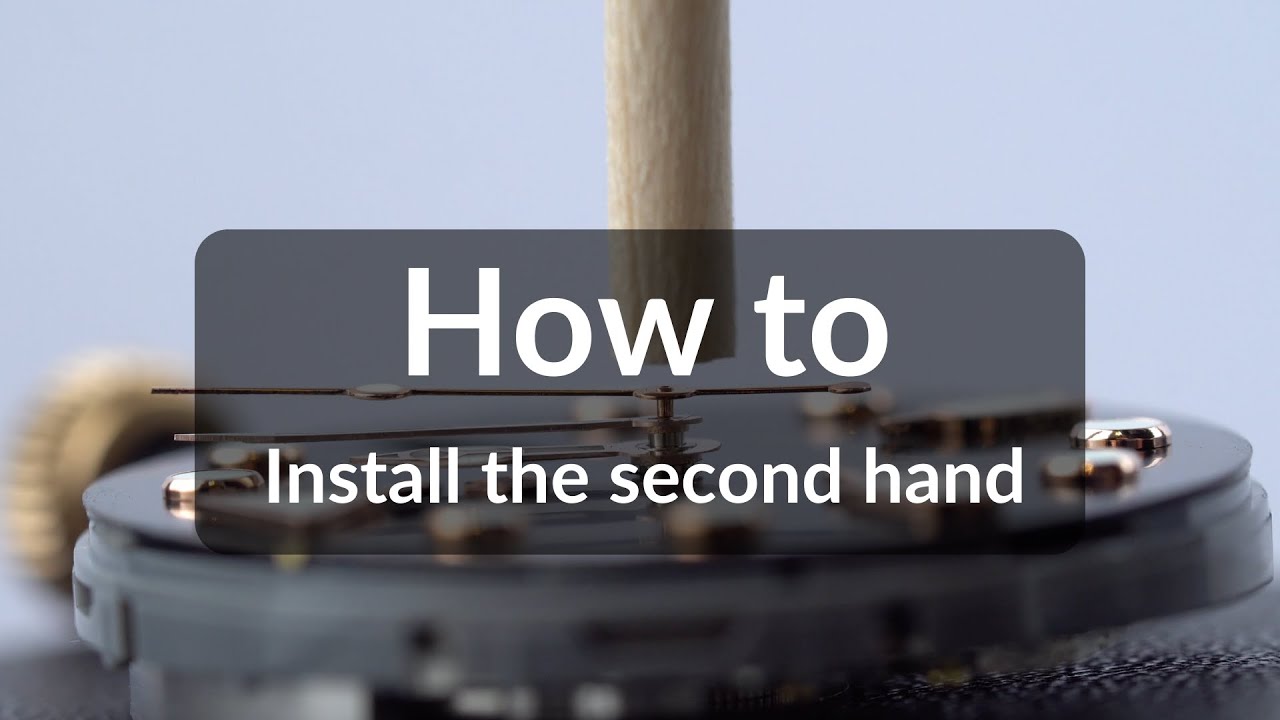
No. 4 - Watch Hand Assembly Instruction - Part 2: Second Hand (Movements with Day and Date)
Welcome back to our DIY watch assembly journey! In this instruction, we'll continue the process of second hand installation for three-hand watches, including NH movements and watches from our DIY kits. Properly installing the seconds hand is crucial to ensure your timepiece functions flawlessly, and we're here to guide you every step of the way.
Second Hand Installation
Installing the seconds hand requires a delicate touch. Applying excessive pressure can result in warping the seconds hand bar and potentially cause irreversible damage to your watch's movement. Therefore, it's essential to approach this step with precision and care.
If you're new to this series, we recommend checking out Part 1, or our Instruction video No.3 - Watch Hand Assembly Instructions - Part 1: Hour & Minute Hands - where we covered the basics of hour and minute hand setting, as well as techniques for adjusting the level and height of watch hands. These fundamental skills will come in handy as we progress.
Video Instruction
Step-by-step Guide
-
Practice Light Touch: To start, we need to practice holding the second hand in place without applying any pressure. Use the opposite end of a wooden stick to gently balance the second hand on a flat surface. The goal is to understand how to keep the second hand in place without pressing down.

-
Slight Movement Test: Use the wooden stick to very gently attempt to move the second hand around. You'll be able to tell whether the second hand tube is secured by the smallest post or if it's sliding around. This step is crucial for ensuring correct alignment.
-
Loosely Set the Hand: Once you're certain of the correct position, loosely set the second hand in place.

-
Test Rotation: Push the crown all the way in, wind the movement slightly, and gently shake the setup. If the second hand starts rotating as it should, you're on the right track.
-
Apply Gentle Pressure: Gradually apply slight pressure to the second hand while keeping it level and ensuring it doesn't touch the minute hand below. It's important to note that the pressure required should be less than that for the minute or hour hands.

-
Prevent Sticking: The most common issue during second hand installation is it getting stuck, either against the minute hand or the crystal above. Carefully observe for any interference.
-
Final Check: Before concluding, give the entire assembly a final check. Ensure that all the hands function correctly, are set low enough, and are level. Congratulations! You've now mastered one of the most vital skills in basic watchmaking and watch modding.

With your seconds hand securely in place, your DIY timepiece is taking shape beautifully. Stay tuned for more tutorials in our watch assembly series.
Happy watch crafting!
Read more

No. 3 - Watch Hand Assembly Instructions - Part 1: Hour & Minute Hands (Movements with Day and Date)
Welcome to the tutorial series of DIY watch assembly! In this tutorial, we'll guide you through the intricate process of installing the hour and minute hands on your timepiece. It's a crucial step ...
Read more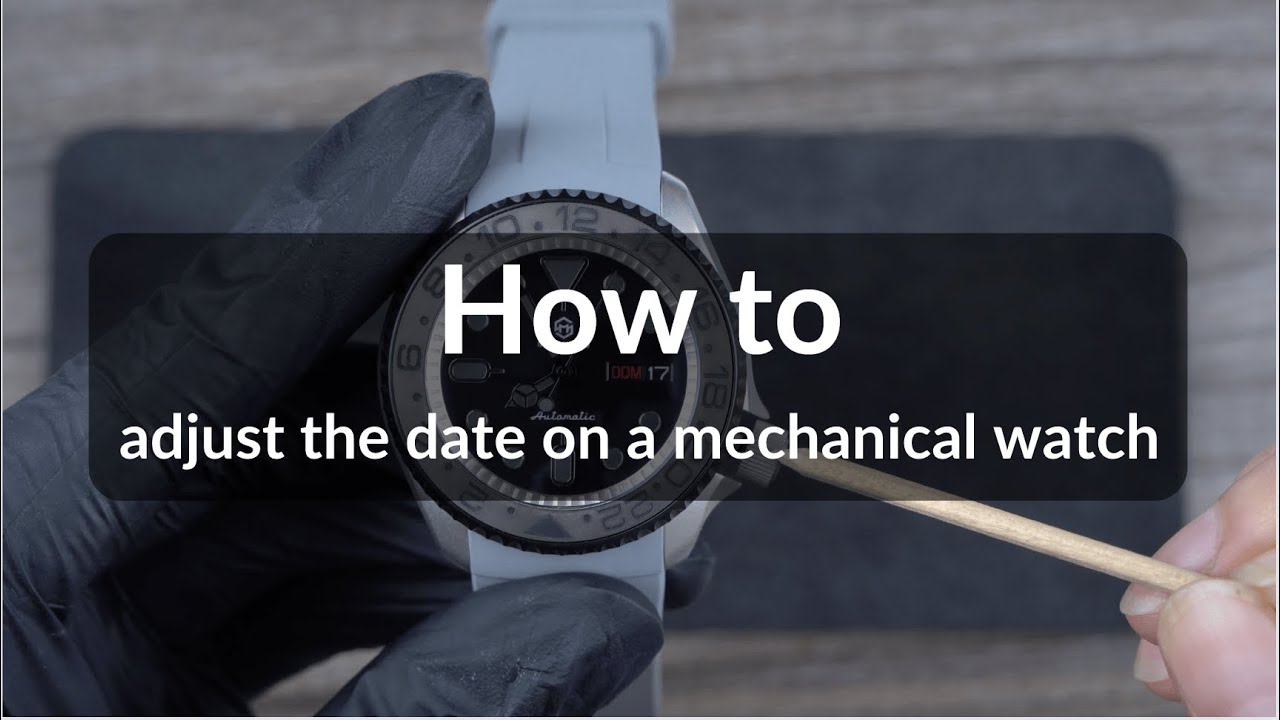
No. 2 - How to adjust the date on a mechanical watch
Welcome back to the series of Timepiece assembling tutorials! If this is your first time visiting this blog, it is recommended for you to start with the first step: Installing and Removing the dial...
Read more
Leave a comment
This site is protected by hCaptcha and the hCaptcha Privacy Policy and Terms of Service apply.