
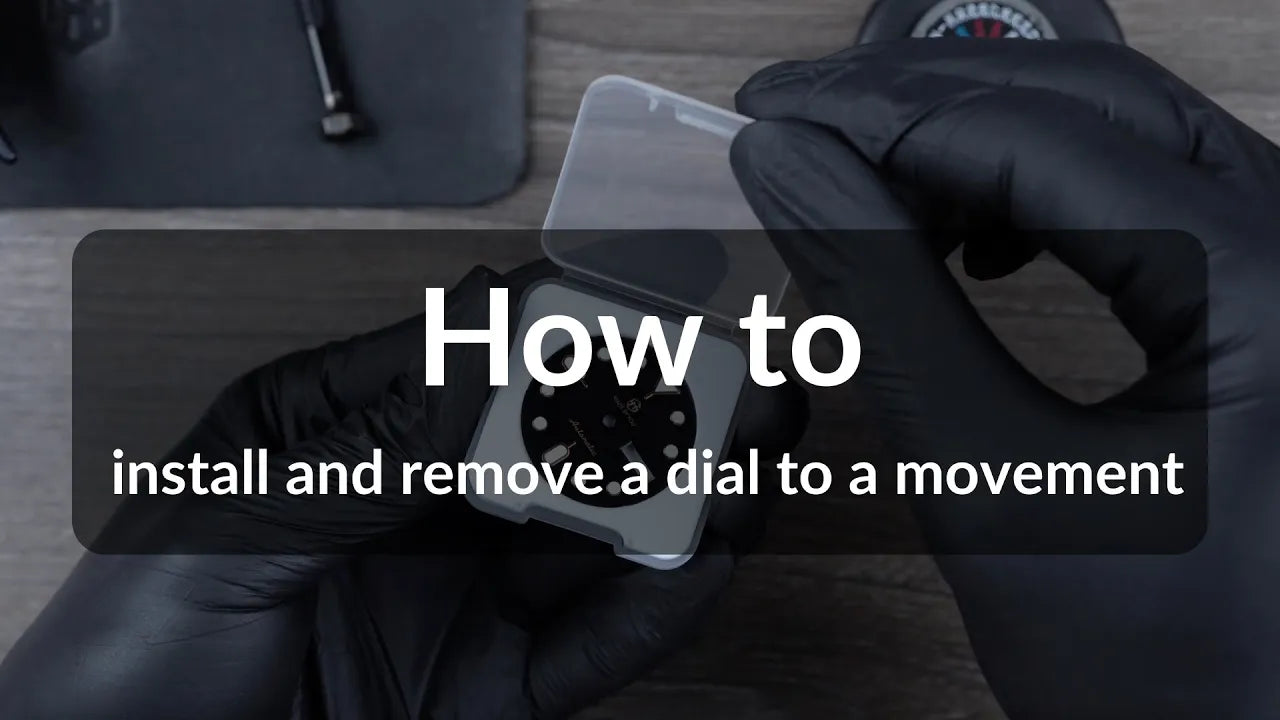
No. 1 - How to install and remove a dial to a movement by TMI - Seiko
This is a series of watch assembling tutorials in each specific step. With the 9 BASIC SKILLS, you can confidently assemble and be creative with your timepiece without any functional barriers. Let's start with the very first step in your crafting journey with Instruction No.1 - How to install and remove a dial to a movement by TMI - Seiko
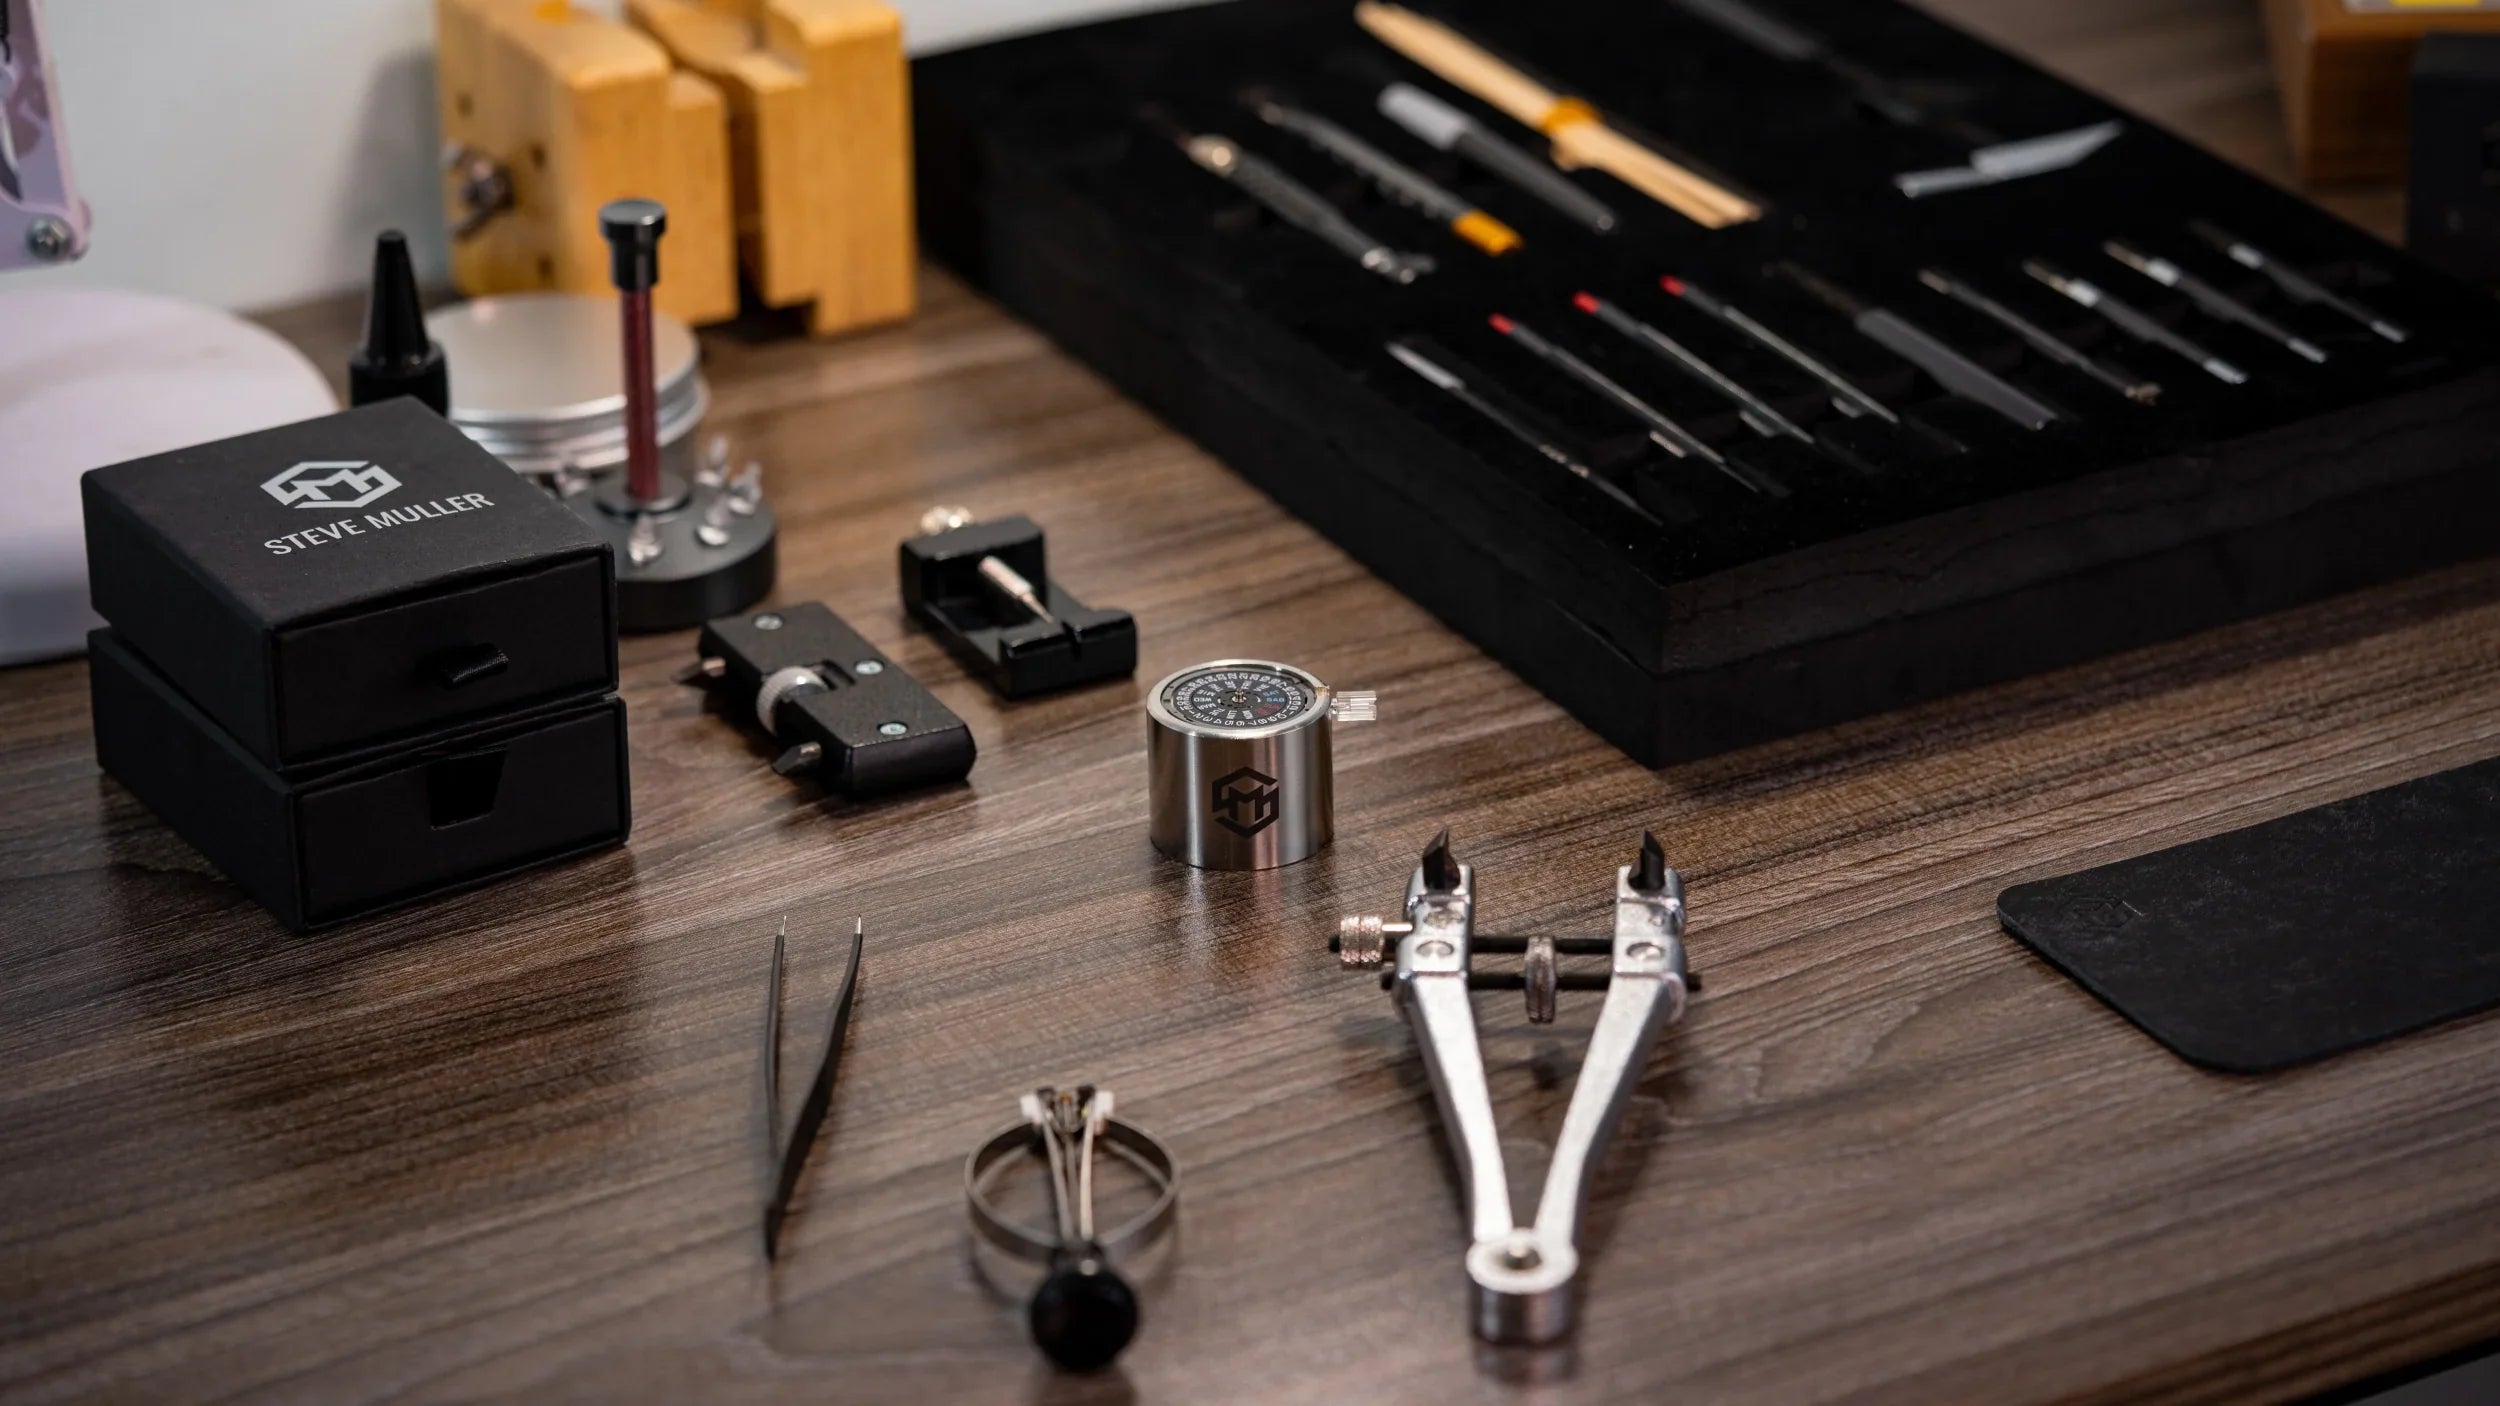
Required Tools
Before we dive into the process, let's gather the essential tools you'll need:
-
Dial protectors: Thin, soft pads or plastic sheets to protect the dial from scratches or damage during the process.
-
Watchmaker's tweezers: For delicate handling of small components.
Video Instruction
Step-by-Step Guide
Installing a New Dial
-
Prepare the Dial: Before installation, ensure your dial is clean and free from any dust or debris. Inspect the dial feet to verify they are in good condition.
-
Position the Dial: Carefully position the dial over the movement, aligning the dial feet with their corresponding holes on the movement.
-
Secure the Dial: Gently press down on the dial to secure it in place. Ensure the dial feet snap into their respective holes. Be cautious not to apply excessive force.
-
Quality Check: Once the dial is securely in place, perform a quality check. Ensure that the dial is level, and there is no interference with the hands or movement.
-
Reassemble the Watch: If you've removed any watch hands or components, carefully reassemble them according to your watch's design and layout.
Removing the Dial
-
Prepare Your Workspace: Begin by setting up a clean, well-lit workspace with all your tools within reach.
-
Inspect the Dial Feet: Examine the back of the dial to locate the dial feet. These are small metal tabs or pins that attach the dial to the movement. Note their positions and how they're secured.
-
Release the Dial Feet: Using watchmaker's tweezers, gently release the dial feet by carefully lifting or pressing them. Take your time to avoid bending or damaging them.
-
Lift the Dial: Once the dial feet are released, carefully lift the dial from the movement.
It's crucial to exercise patience and precision every step of the way to ensure your timepiece remains in excellent condition.
Wishing you a pleasant and successful assembling experience!
Read more
Your Comprehensive Guide to Assembling a Watch - Instruction Series
Are you ready to jump into the world of watczzhmaking? Look no further! Welcome to our comprehensive series guiding you on assembling a watch! In our exclusive instructional series, we are going t...
Read more
No. 2 - How to adjust the date on a mechanical watch
Welcome back to the series of Timepiece assembling tutorials! If this is your first time visiting this blog, it is recommended for you to start with the first step: Installing and Removing the dial...
Read more
Leave a comment
This site is protected by hCaptcha and the hCaptcha Privacy Policy and Terms of Service apply.