No.8 - How to open screw-in case back - SM Timepiece DIY
Welcome to another tutorial by SM Timepiece DIY. Today, we're mentioning how to open a screw-in case back, an essential skill for your DIY journey. Let's explore the tools and techniques required to handle this task with precision.
What is a Screw-In Case Back?
A screw-in case back is a type of watch case that typically features notches or a unique shape. This design is meant to provide a secure seal to protect the watch's inner workings.
The Tools You Need
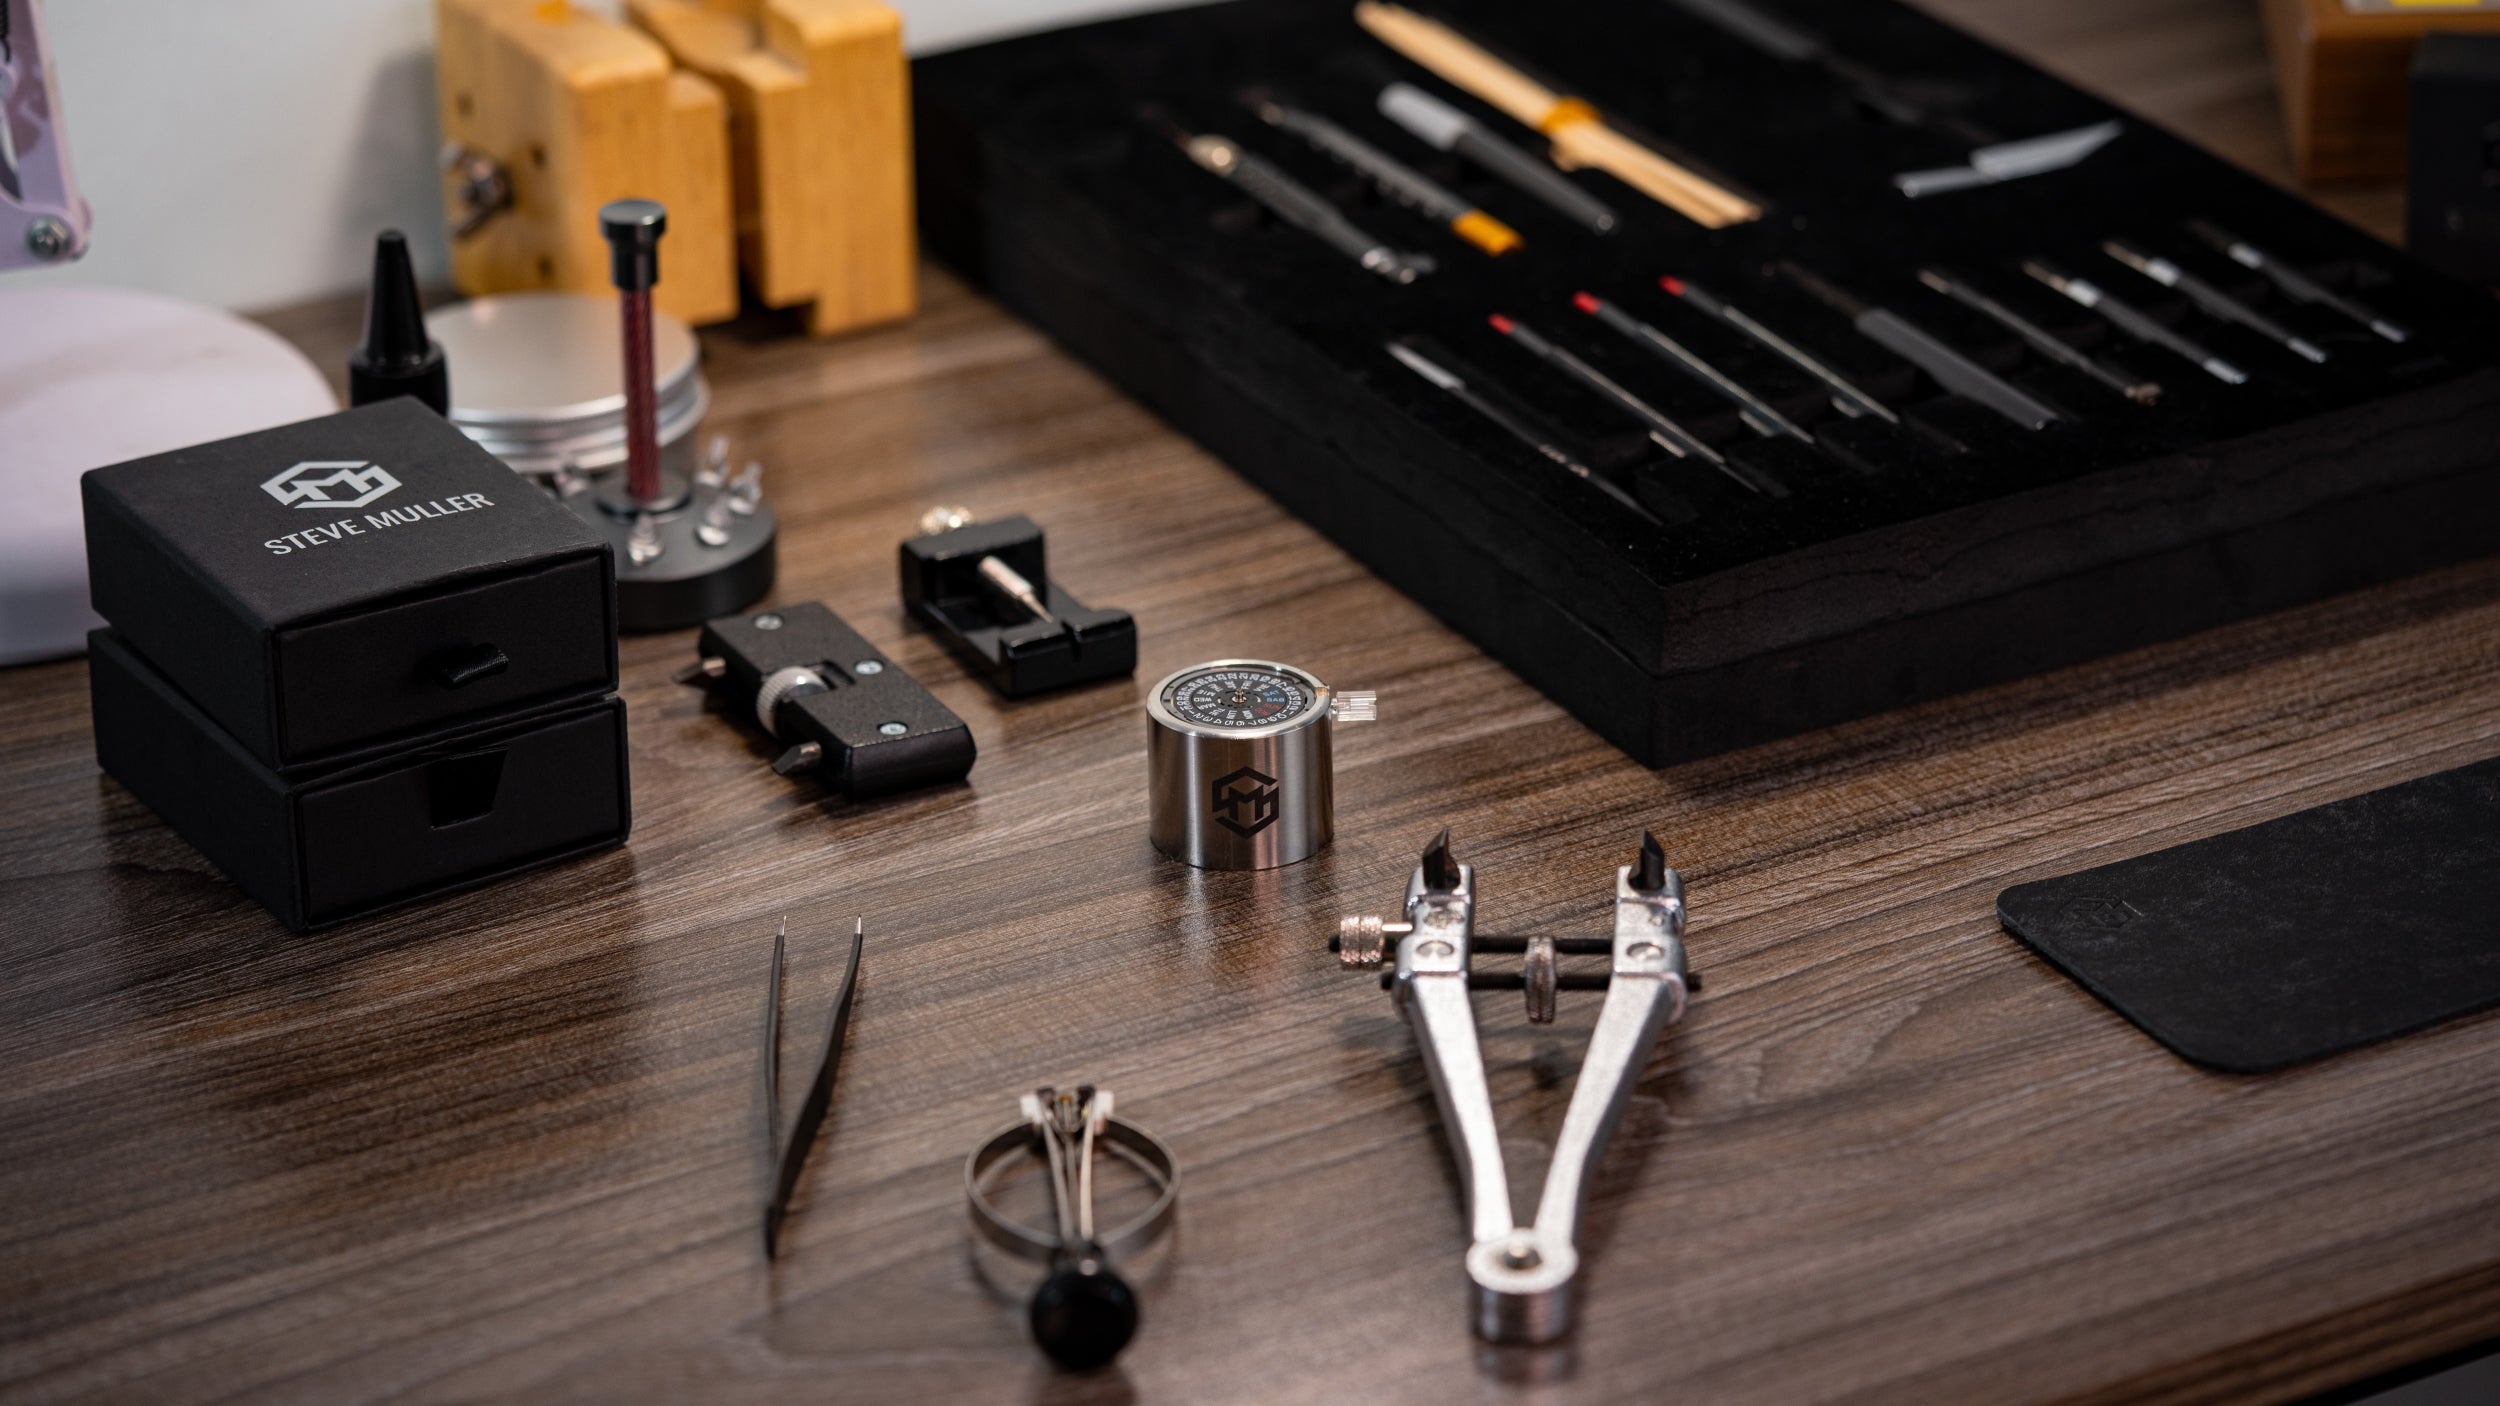
To open a screw-in case back, you'll require a suitable case back opener. There are two primary types:
-
Three-Pin Opener: This opener consists of three pins that align with the notches or slots on the case back.
-
Two-Pin Opener: As the name suggests, this opener has two pins. It functions similarly to the three-pin opener.
Video Instruction
The Opening Process
-
Align the Pins: For both three-pin and two-pin openers, begin by aligning the pins with the notches or slots on the case back.
-
Maintain Pressure: With the pins in place, apply steady pressure between the opener and the watch. Ensure they remain at a perpendicular angle.
-
Turn the Opener: Now, gently turn the opener counterclockwise. The pressure and rotation will gradually release the case back.
Pro Tip: In some cases, especially with brand-new watches, the case back may be tightly sealed. To tackle this, consider using a watch holder. This provides a more stable base, allowing you to apply increased torque without risking damage to the watch.
Accessing the Watch Movement
With the case back successfully removed, you'll have access to the watch's movement. This is where you can perform a range of tasks, including rotor replacement, regulation, modifications, or repairs.
Closing the Case Back
Once your work on the movement is complete, it's time to reseal the watch. Closing a screw-in case back is essentially the reverse of the removal process. However, here are some essential tips:
-
Ensure the gasket is in place. Depending on the watch's construction, the gasket may be on the case back or within the case itself.
-
For those concerned about water resistance, consider greasing the gasket with silicone oil before resealing the case back.
-
Initially, use your bare hands to apply the initial torque to the case back. Then, tighten it properly using your case back opener. Ensure there's no significant gap between the case back and the case.
-
If you notice a considerable gap, it's possible that the case back is on the wrong thread. Simply unscrew and re-screw it correctly.
Water Resistance Verification
For those who prioritize water resistance, performing a water resistance test after resealing the case is a wise move. Be sure to consult a professional guide on this topic before attempting the test.
You are now in the very last steps of your crafting journey. One more step, and you will be able to start your Timepiece Assembling Process. Keep going!


Leave a comment
This site is protected by hCaptcha and the hCaptcha Privacy Policy and Terms of Service apply.