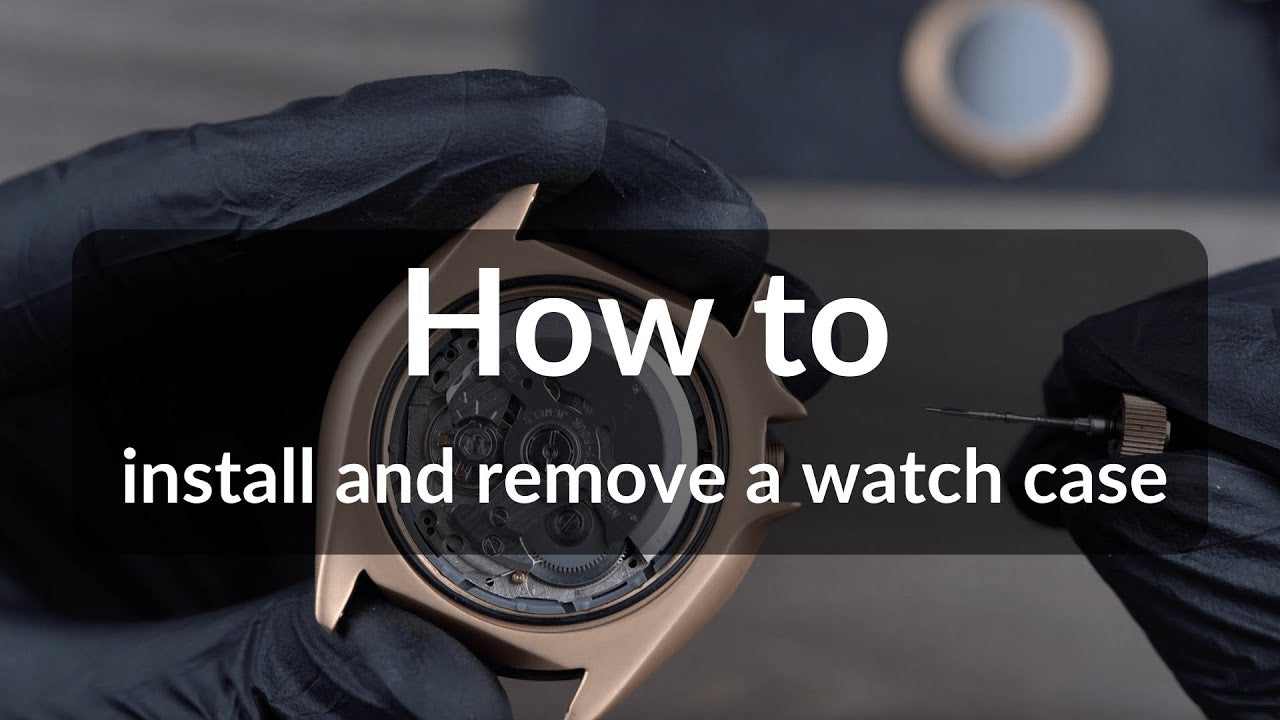
No. 7 - How to install and remove a watch case
Welcome back to the exciting world of watch assembly with Steve Muller Timepiece DIY! In today's tutorial, we will tackle a crucial step: installing and, if needed, removing the watch case.
Before we begin, ensure you've already completed the processes of inserting the hands and adjusting the date on your watch. If you haven't covered these essential steps, head over to our instructional series or watch the video tutorials on our YouTube channel.
Video Instruction
Step 1: Placing the Watch Case
-
Choose Your Case: Select the case that best suits your design vision.
-
Positioning: Carefully place the watch case onto the dial, ensuring it aligns precisely with the watch's face. Here's a crucial detail: the crown installation position on the case must be at approximately 3.8 o'clock.
-
Alignment Check: Flip the watch to its back and double-check the alignment. The two crown installation points on the movement and case must be perfectly aligned.
-
Applying Pressure: Once everything is in place, take a pointed wooden stick and gently apply pressure to the points around the movement. Be cautious not to press on the movement's delicate details.
-
Front View Inspection: Flip the watch to its front again and inspect the distance between the chapter ring and the dial. The ideal result is a snug fit with almost no space between them. If there is space, flip it over and continue pressing around the movement.
Step 2: Installing the Crown
-
Crown Placement: It's time to install the crown. Push it all the way in until you hear a distinct click, and it can't be pulled out anymore.
-
Checking the Rubber Ring: Now, let's check the rubber ring on the back side of the case. Ensure it's in the correct position. You'll find reference images for both correct and incorrect positions in the instruction video.
-
Case Back Assembly: If everything looks good, proceed to assemble the case back. For detailed instructions on this step, check out our next video tutorial: No.8 - How to open screw-in case back - SM Timepiece DIY.
-
Completing with the Bezel
-
Adhesive Removal: Use tweezers to remove the 3M adhesive from the case. Check the ring for a similar 3M adhesive, and if present, remove it as well.
-
Precise Placement: Carefully position the bezel correctly.
-
Applying Pressure: Now, use your hands to apply gentle pressure to secure the bezel firmly in place.
-
How to Remove the Movement from the Case
Should you ever need to replace or repair your watch movement, here's a brief guide on how to safely remove it from the case:
-
Use a Wooden Stick: Find a wooden stick with a flat end and insert it into the gap between the movement and the case.
-
Leverage Lightly: Apply light, even force to the stick to act as a lever, easing the movement out of the case.
And there you have it! Congratulations on reaching this milestone in your DIY watchmaking journey.
Stay tuned for more captivating tutorials from Steve Muller Timepiece DIY.
Read more

No. 2 - How to adjust the date on a mechanical watch
Welcome back to the series of Timepiece assembling tutorials! If this is your first time visiting this blog, it is recommended for you to start with the first step: Installing and Removing the dial...
Read more
No.8 - How to open screw-in case back - SM Timepiece DIY
Welcome to another tutorial by SM Timepiece DIY. Today, we're mentioning how to open a screw-in case back, an essential skill for your DIY journey. Let's explore the tools and techniques required t...
Read more
Leave a comment
This site is protected by hCaptcha and the hCaptcha Privacy Policy and Terms of Service apply.