No. 9 - 30 seconds to install and remove a watch strap - Rubber Strap Tutorial from SM Timepiece DIY
With the appropriate tools and a steady hand, anybody can change a watch band. Whether you want to modify the style of your watch by switching the leather band for a rubber one, or the other way around. Perhaps you want to add a silicone or rubber strap to your rotation to go a bit dynamic. Maybe you broke your previous strap and want to repair your watch by yourself. Whatever your reason or motive, this page will clarify and demonstrate how to change or remove a watch band properly without harming your watch or bands.
Tools You'll Need:
- Soft Cloth: Protects the watch face and case from potential scratches.
- New Watch Straps: Choose from a variety of styles to suit your preferences.
- Provided Spring Bar Tool in our Tool Box
- Workspace: A clean, well-lit area to ensure you don't lose small components.
Caution:
Removing Watch Straps
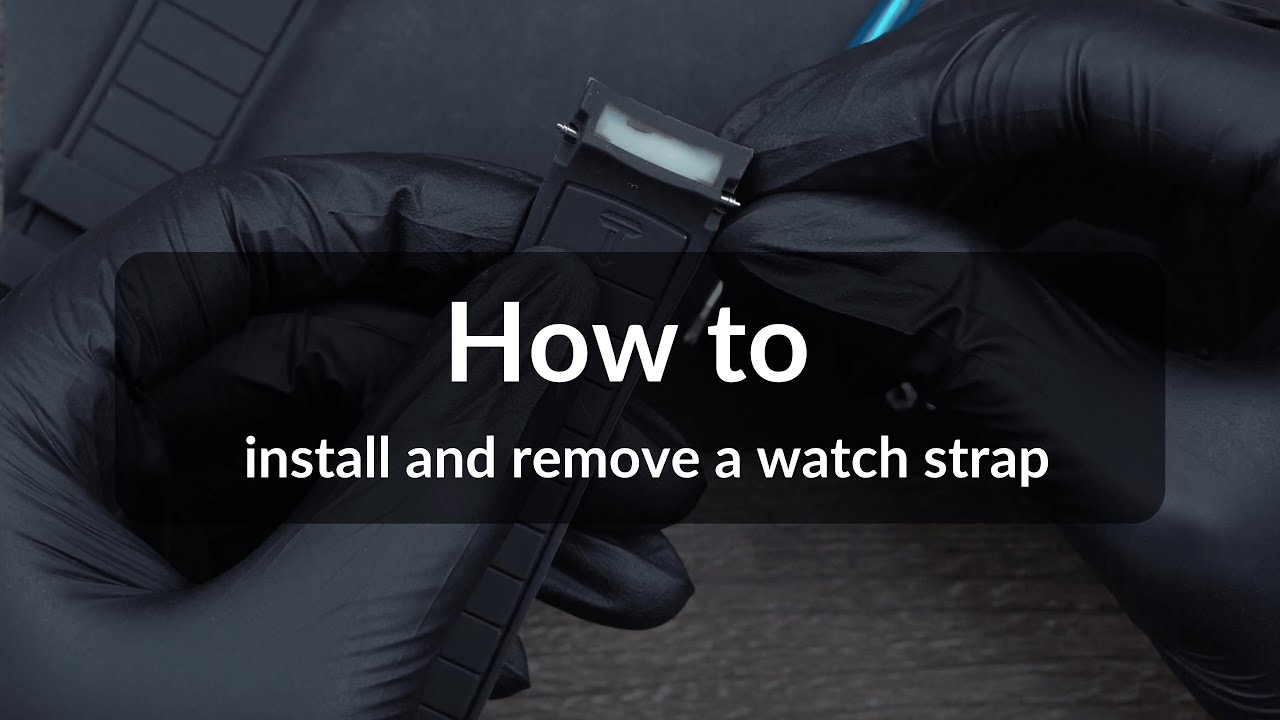
To remove the strap from the watch case, you need to remove the spring bars. These bars are made of a telescoping metal rod with double flanges on each end and are spring-loaded. The ends of the spring bars fit into small holes located inside a pair of lugs on the watch case.

A spring bar tool is a long, thin tool with a forked end that, by engaging and applying pressure to the flanges of the spring bar, compresses the spring bar so that it can be removed and installed.

Lay your watch down on a soft cloth to avoid scratches. Using a spring bar tool, locate the small gap between the strap and the lug (the metal protrusions where the strap connects to the watch case).

Insert the forked end of the spring bar tool into the gap and gently push it toward the center of the strap to compress the spring bar.


As you compress the spring bar, slide one end of the strap away from the lug. The spring bar should pop out of the lug hole.

Once one end is detached, repeat the process for the other end of the strap.

Congratulations! You've successfully removed your watch strap.
Installing Watch Straps
Other straps are interchangeable as long as they have the proper width.

I have a black watch, so I will replace my old strap with a black rubber strap.
Insert a spring bar into one of the replacement strap pieces. The spring bars ought to protrude equally from both sides of the strap.

With the spring bar inserted into the replacement strap piece, loosely insert one protruding end of the spring bar into one of the lug holes and rest the other protruding end of the spring bar on top of the opposite lug.

Using the spring bar tool, compress the spring bar and lower the end into the inside of the lug, aiming for the lug hole. If the spring bar does not snap into the lug hole, proceed to the next step.


If the spring bar did not snap into the lug hole and did not fly off, it is pressed against the inside of the lug. Put down the spring bar and carefully move the strap around (which moves the spring bar with it) to try to “find” the lug hole. Listen for a click that signals that the spring bar end has snapped into the lug hole.

Maintenance and Care Tips
- Avoid over-tightening: While attaching the strap, ensure it's snug but not overly tight. This step helps to prevent damaging the case or strap.
- Regular cleaning: Wipe the watch case and strap with a damp cloth to maintain their appearance and prevent debris buildup.
- Store straps properly: When not in use, store extra watch straps in a cool, dry place to prevent deterioration.
A broken watch strap can be replaced, which also alters the appearance of the watch. Setting up a workspace, removing the previous strap, replacing it, and cleaning the watch of any smudges or dirt are all required. Working with the spring bars, which make up the attachment system, should be done with caution because they are tiny and prone to coming free. These steps, if carefully carried out, will repair your wristwatch and maybe even enhance its appearance.
You have finished the entired instruction series! Now you are ready to start your DIY experience. Happy journey!
Read more
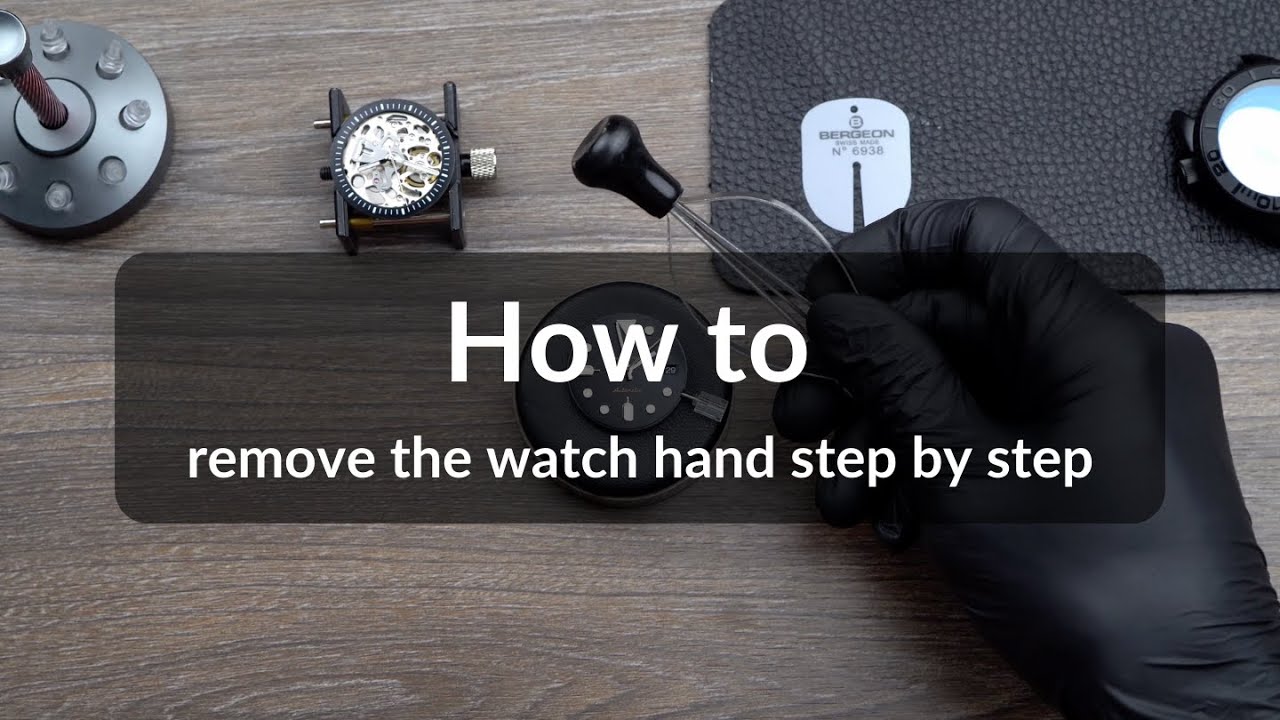
No. 5 - Detailed guide on removing watch hands in 30 secs - SM Timepiece DIY
To customize your DIY watch, it's essential to learn how to remove and reposition watch hands. This hands-on process will help you not only personalize your timepiece but also gain a better und...
Read more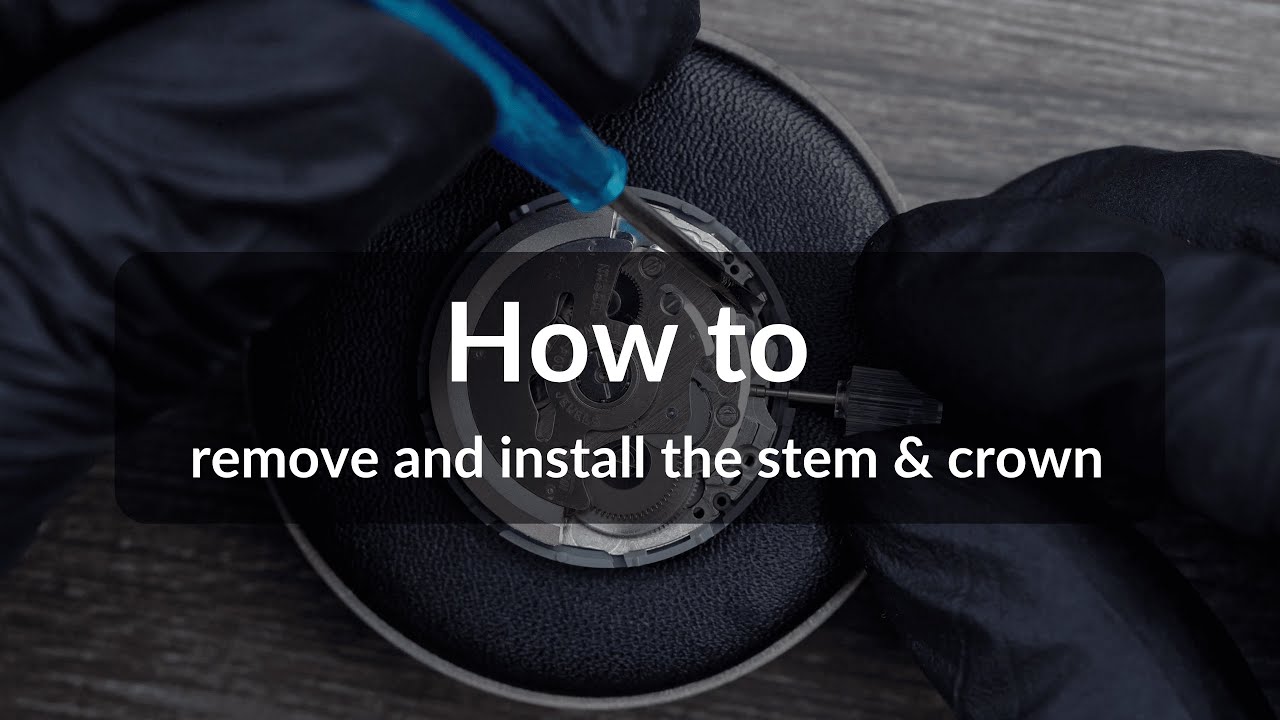
No. 6 - Removing and Replacing Stem and Crown From Your DIY Timepiece
Why Would You Need to Do This? The removal of the stem and crown is a very frequently performed process in watch assembly modding and servicing since this is usually a required step before you remo...
Read more
Leave a comment
This site is protected by hCaptcha and the hCaptcha Privacy Policy and Terms of Service apply.